If you have a Shimano crankset and need to replace the rings, the job is not that difficult if you have the right tools. I think the whole job took me under 30 minutes.
The first step in the process is to take off the chain. I highly recommend either SRAM chains or getting a SRAM removable link on a Shimano chain. This allows you to take a chain apart and put it back together without a chain tool. A great feature for trailside repairs.
Now remove the non-drive side crank arm. There are 2 bolts on the arm that need to be removed. These bolts have a small washer, so be careful not to lose the washer when you take the bolts out. If your crank is very clean, you don’t need to take the bolts all the way out, more on that below.
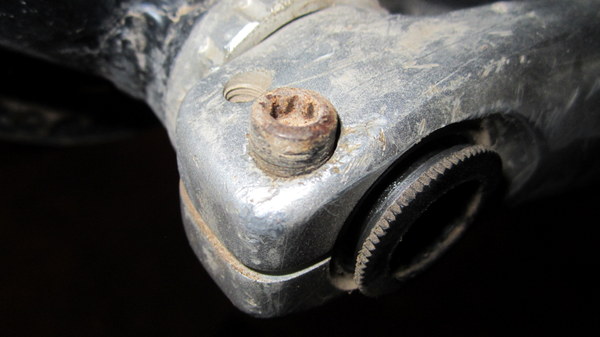
Once you have the bolts loosened or removed, there is a black plastic cap that needs to be removed. This cap is used to keep out dust and also to pull the crank arm in snugly when you are reassembling (like the headset cap.) There is s special plastic tool that comes along with the crank arm wrench that is used specifically for this purpose.
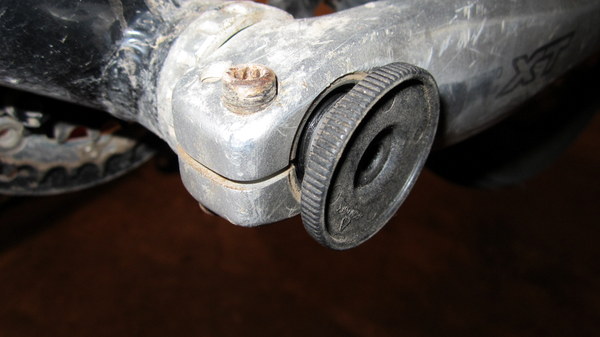
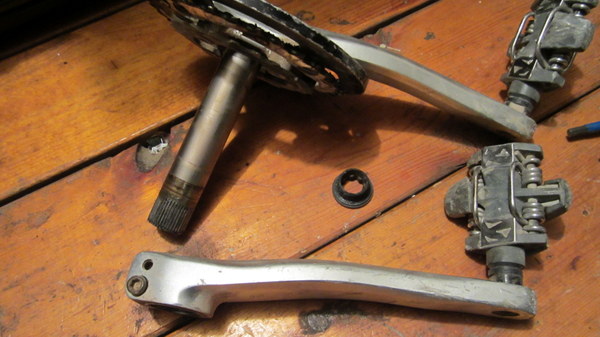
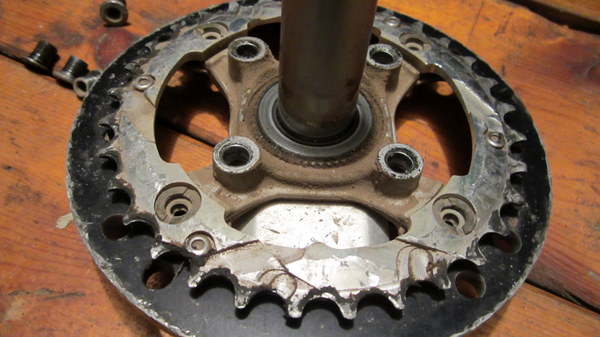
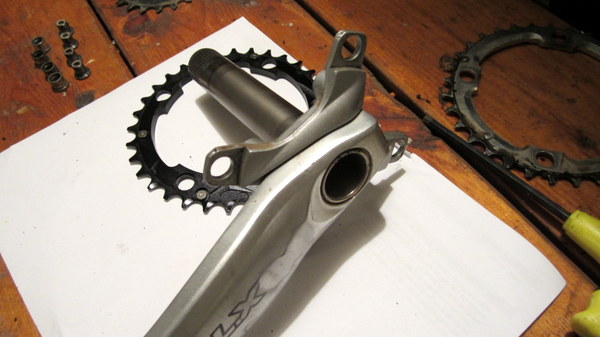
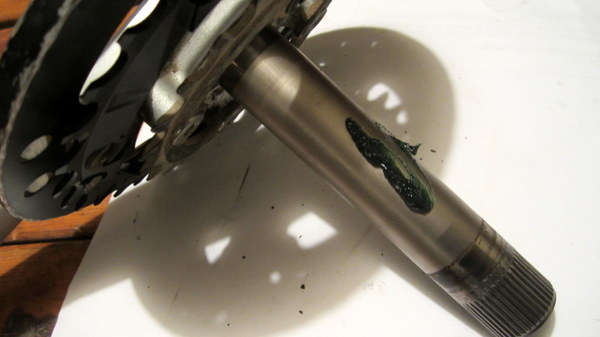
Once you have the end cap off, the crank arm should pull off relatively easily. If it does not, getting a rubber mallet and GENTLY tapping the arm from the back will help get it started. Once the arm is off, you’ll see the splined axle. Again, gently, tap the axle in the opposite direction with the rubber mallet and it should pop out the other side of the bottom bracket. Now you have a completely removed crankset.
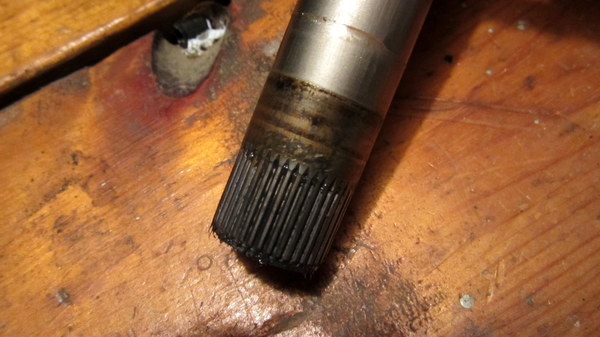
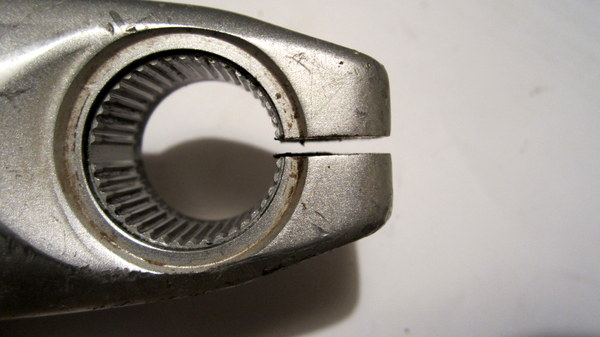
From the picture here you can see that there is a lot of dirt that has built up on the axle, you will get this if you are not maintaining your equipment properly. This can also happen if you did not tighten the cranks well enough the last time that you disassembled them.
If you are replacing the little ring, just take the appropriate sized hex key and undo the bolts. If are removing the middle ring you do need to take off the little ring first. I tend to spend 95% of my time in the middle ring, so the little ring is rarely used, I don’t go through them as much.
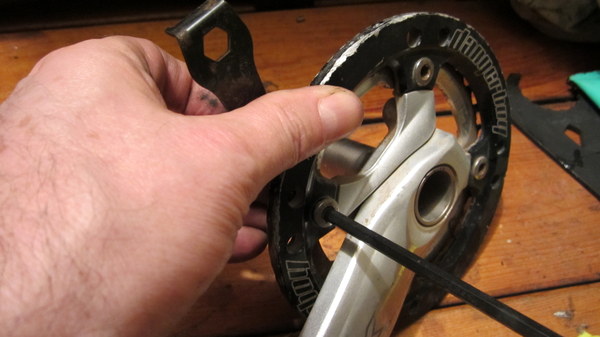
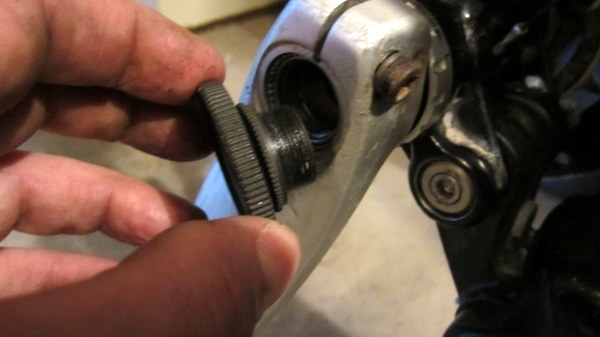
To take out the middle ring, you typically have a double bolt, which means that it is 2 pieces and it is unthreaded in reference to the crankset. To remove it you may need a spanner.
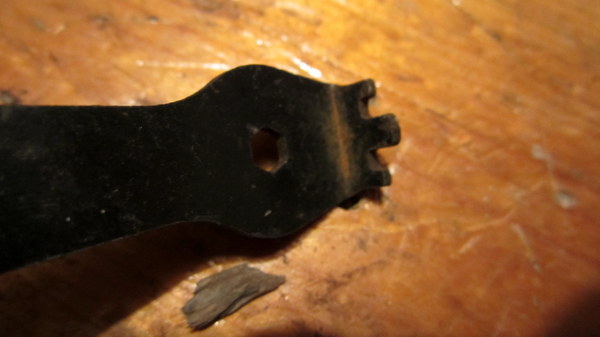
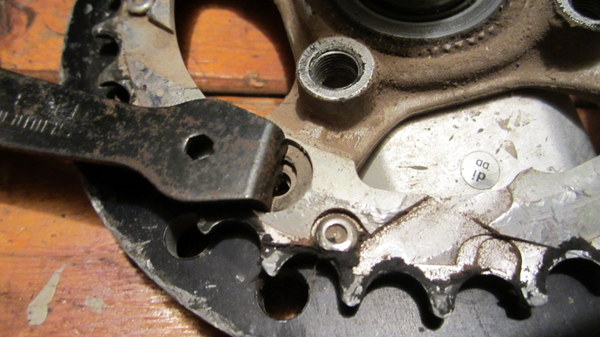
Typically, if it has not been removed for a while you can just remove the crank bolts with a hex key. If it was recently replaced, the back half of the bolt may move when you try to turn it. That is where the spanner comes in. Insert the spanner into the slots on the back of the bolt, that will hold the bolt in place, allowing you to remove the front bolt.
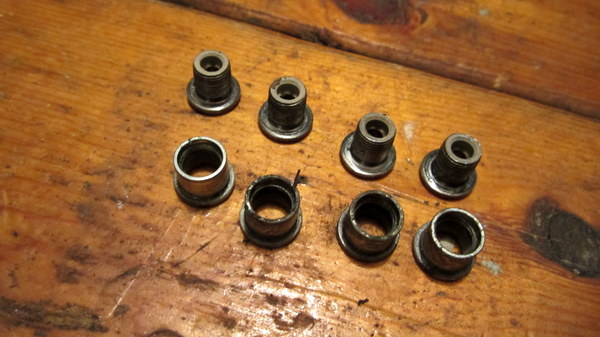
Take out all of the bolts and remove the backs.
It is smart to completely disassemble and clean the crank set before reassembling it – this helps remove any of the dust and dirt that could be causing creaks.
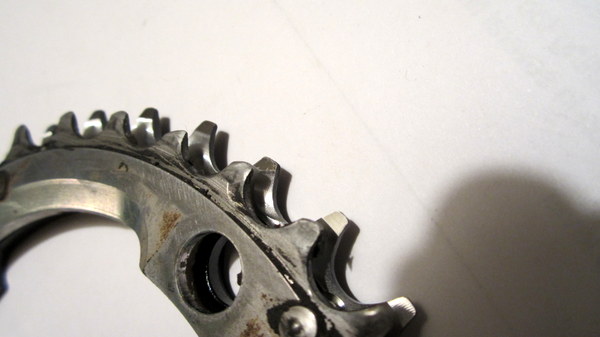
If you look at the teeth here you can see the difference between the new and old ring.
To reassemble, start with the middle ring. Push the back of the crank bolt through to hold the ring to the spider. Then, holding that in place, flip the crank over, put the big ring or bashguard on the other side of the spider and then place the front crank bolt into the hole and screw it tight enough to hold it all together. Now put the other bolts into the crank in the same manner. Don’t tighten them all the way up until all of them are installed. Use the spanner to hold the back in place while you tighten.
Then reinstall the little ring.
Before putting the cranks back on the bike, be sure to clean off the axle and the crank arm, getting all of the dust, dirt and grease off of it. If you had a dusty/dirty crank, make sure the arm bolts are completely removed and clean the bolt holes out with a q-tip. This can help remove unwanted creaks.
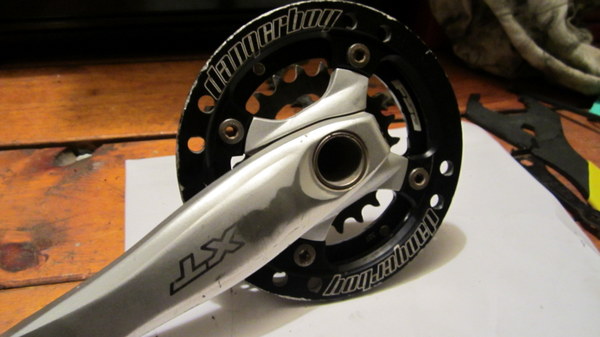
Now you have a completed crankset.
Next, put some grease on the axle, I prefer Phil’s waterproof in the light green tube, spread the grease evenly around the axle, then insert the axle back into the bottom bracket. Lightly tap with a rubber mallet to ensure it is totally in.
Next insert the plastic cap back into the crank arm, and tighten it up as much as you can, the crank should spin freely and be snug.
Put the crank arm back on, tighten up the bolts, and then replace the chain. Now you are ready to go.
A couple of great tips provided after I posted this:
If you don't like the spanners, try these crank bolts instead:
http://www.chainreactioncycles.com/Models.aspx?ModelID=66380
Also, use a) drop of blue loctite on the lip of the chain ring bolt makes it stick to the crank arm so that pita spanner tool isn't needed b) Phil's on the threads of Al chainring bolts so they don't oxidize and become a pita to loosen.