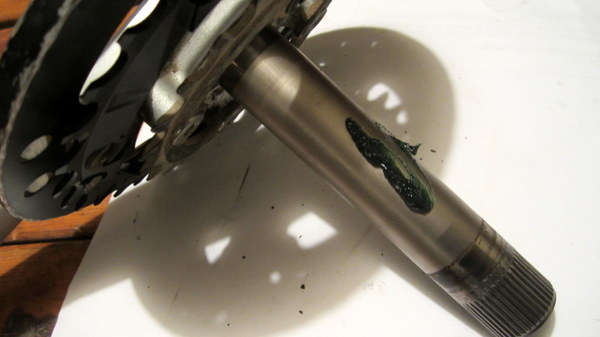
The bottom bracket contains the bearings that help keep your crank spinning smoothly. Modern bottom brackets now have outboard bearings meaning that they sit outside of the shell, not inside like years ago. This makes them more durable and able to withstand more torque and pressure. However, especially in the case of Shimano, the bearings are not really serviceable. Once the bearings start to get “crunchy”, it is time to put a new set in.
Start by removing the chain and the crank set, if you do not know how to do this, there are instructions here:
With the crank removed, you will now need to remove the bottom bracket. There will be a specific tool that you will use, it is specific to the bottom bracket. These instructions are for removing a Shimano bottom bracket.
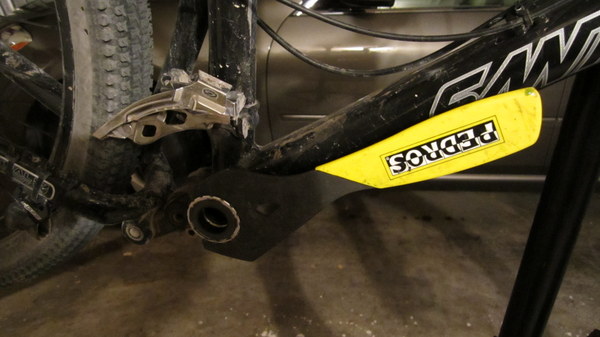
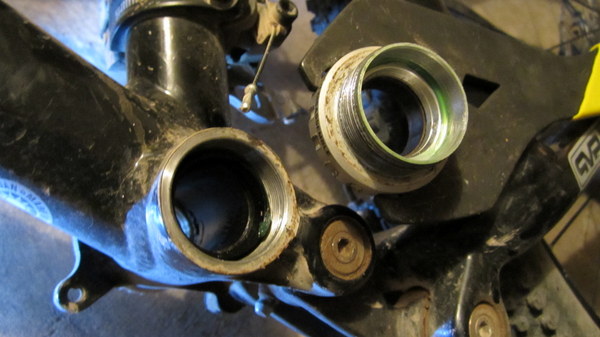
Start by looking at the top of the outer shell. You should see a “tighten” arrow, you’re going to want to turn in the other direction. Align the BB tool to the notches on the shell and then turn in the opposite direction of the “tighten” arrows. The end cap should loosen and then come out. Do this for both sides. If there were any spacers on the drive side, be sure to keep those in a safe place.
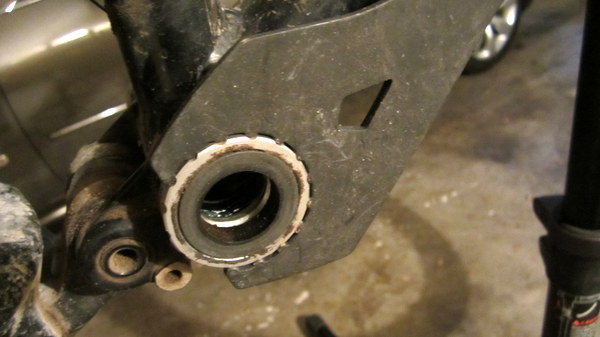
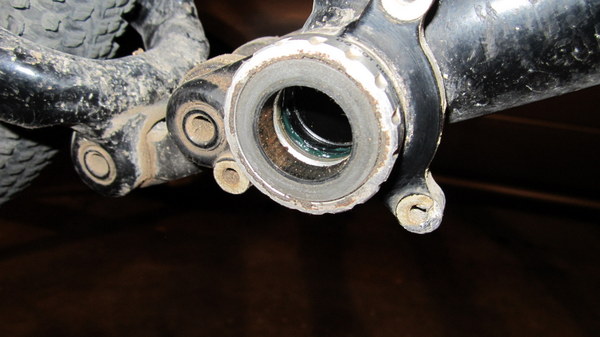
Now you have the bottom bracket out. There is a larger cup (drive side) a smaller cup (non-drive side) and a plastic tube that connects the two.

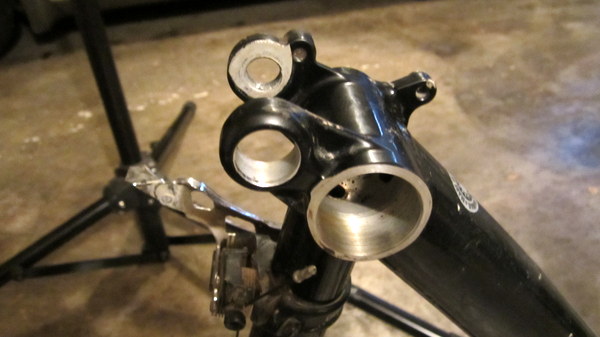
While you have the bottom bracket out, use this opportunity to clean out all of the grease, grime and dirt that is in the lower shell, everything should be clean before you start to reassemble.
When you reassemble , start with the drive side first, put that bearing cup with the tube inserted into the bike and tighten it up. Be sure to add any spacers back on first; clean them off and make sure they are dry first. Most of the bottom brackets are pre-greased, if they are not, then be sure to grease them before installing.
Then install the non-drive side, make sure the tube is centered because it needs to pop into the cup that you are now installing. Make sure both sides are tightened and you are done.
Now, grease up the axle of the crank set and reinstall.