
This one was a long time coming. I rarely ever used my granny gear, but liked to have it around "just in case." I had plenty of chain drops and had added the Bionicon C-Guide to help eliminate that (it did), but I am generally one for simplicity and the single ring systems with a narrow-wide chainring that doesn't drop your chain was becoming appealing.
This is the story of how I converted my bike, and it is easy enough that anyone should experiment on their own as well.
1x11 is still too rich for my blood these days, and 1x10 required changing out a lot of components. I became anal-retentive and put this together:
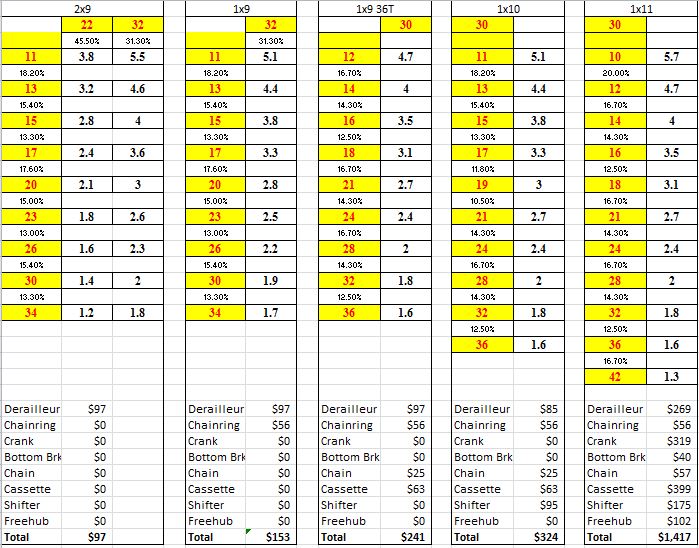
Clearly for me, 1x9 was the sweet spot for today's exercise. Initially I thought that I needed a new derailleur but after the first few rides I thought that maybe I could get more out of the current one - more on that at the end.
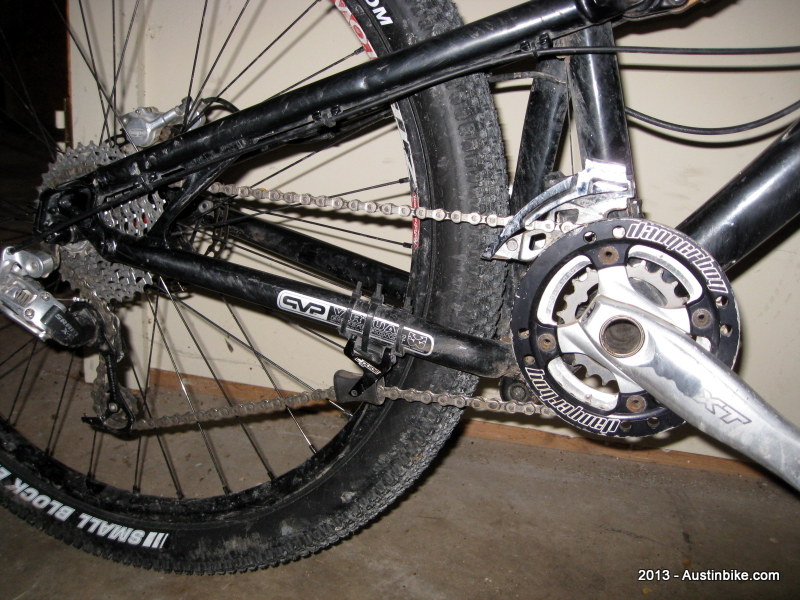
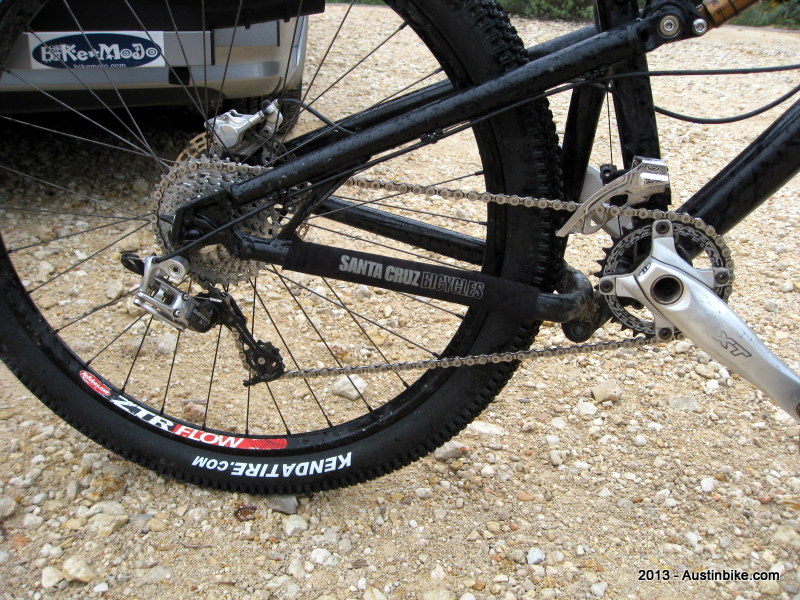
This is how the bike looked at the start:
The first step was picking up a Race Face single ring with a wide-narrow tooth pattern. The wide-narrow holds onto the chain better, no need for additional gadgets - a big win in my book.
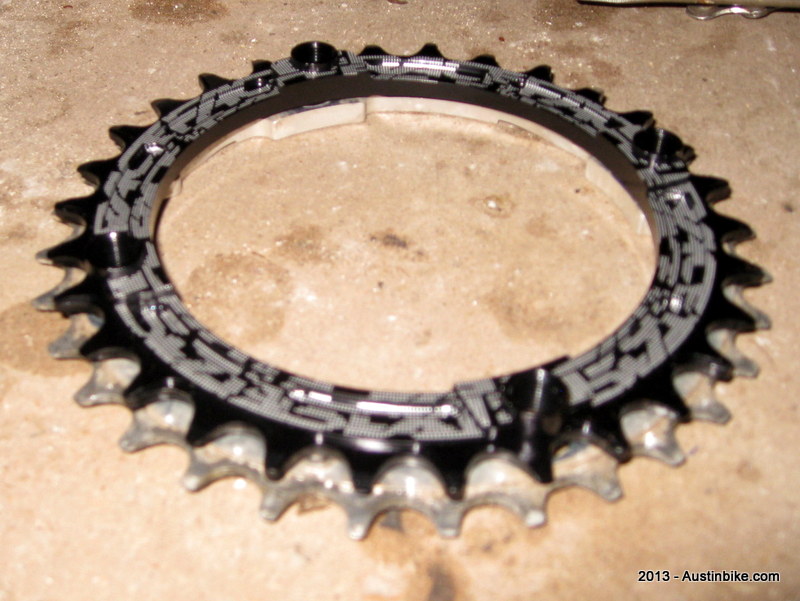
Relative to the old 32T ring, the new 30T ring is obviously smaller, but sports the same BCD measurement so it fits right on the current cranks. I noticed on the first ride that I had tons of pedal strikes. This is probably because in my head I was expecting to be at a different position.
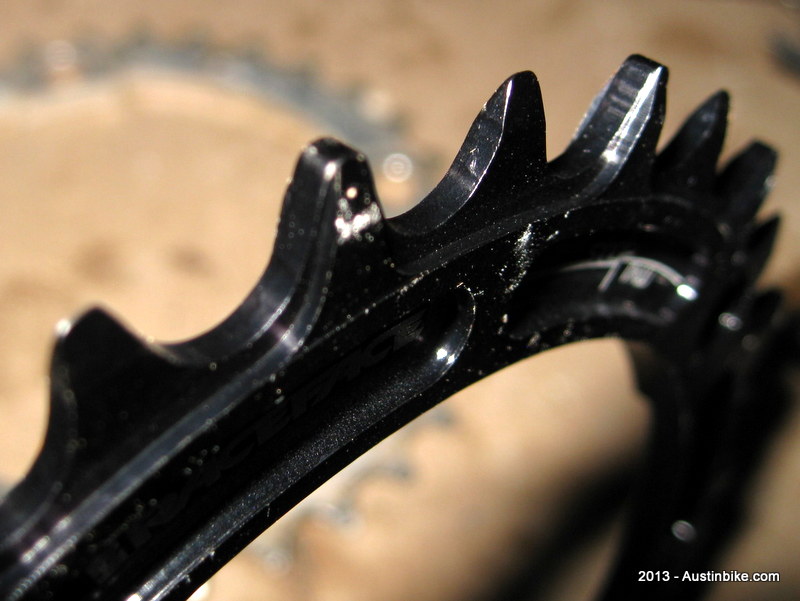
You can see the tooth difference between the wide and the narrow. The ring actually makes a little more noise from the snug fit.
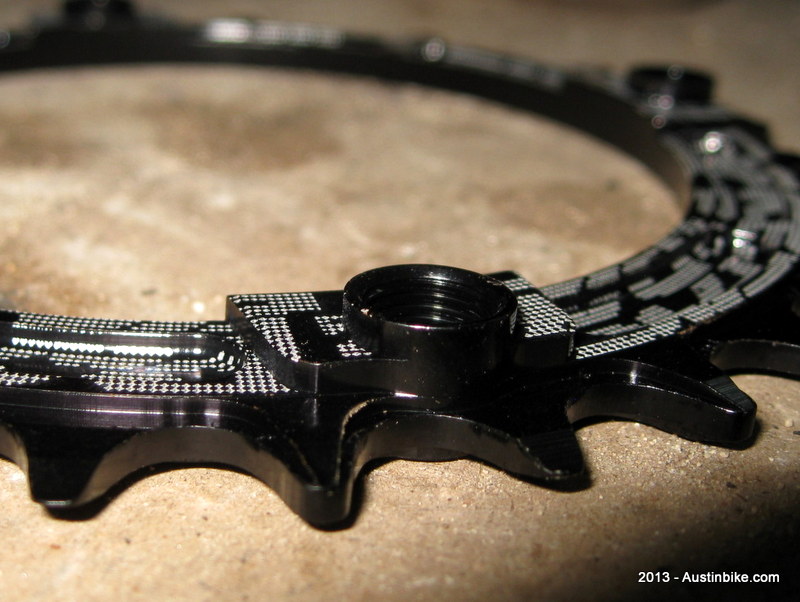
The ring has an offset that allows for a 30T ring to sit on a pair of XT cranks that were designed for a 32T ring. There is no modification needed to the crank, a big plus in my book because I was not 100% sure that I was going to want to keep this. Also, something that I HATE about the ring is that there is no backing bolts, the crank bolts screw directly into the ring. That means if you strip one, instead of a $3 crank bolt, you're buying a brand new ring.
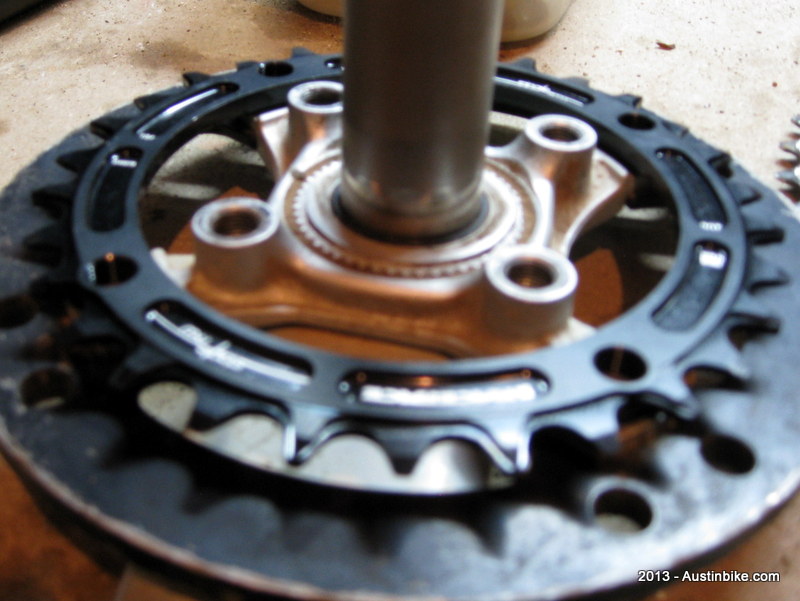
The ring fits right into the crank, but I found that I did have to remove the bashguard. I am going to try to find some really long bolts that will allow me to add the bash guard back on.
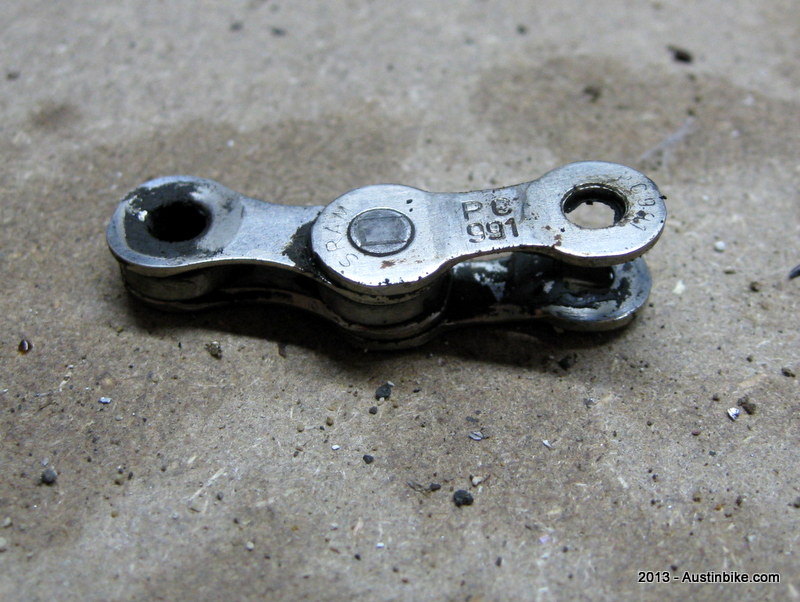
I lost 2 teeth in the ring, so two links needed to come out of the chain. Whenever you change your ring sizes or cassette, make sure that you are taking the chain into consideration.
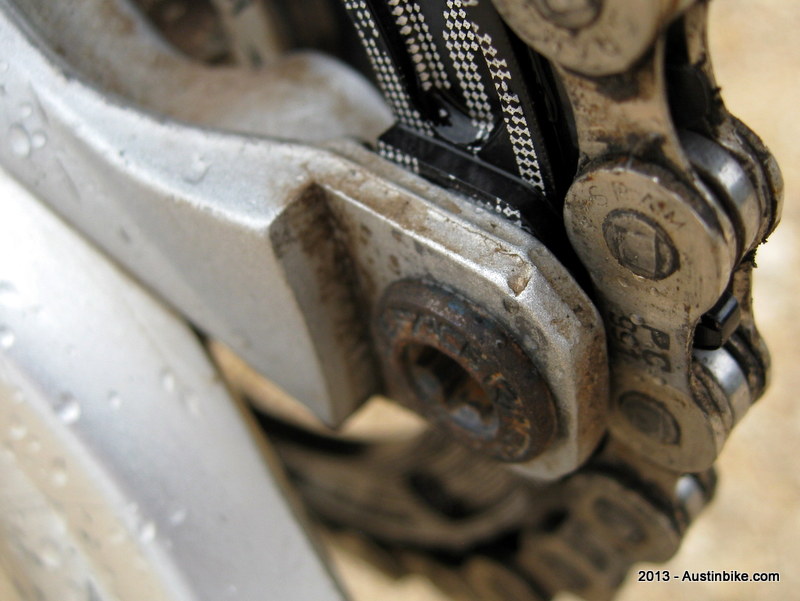
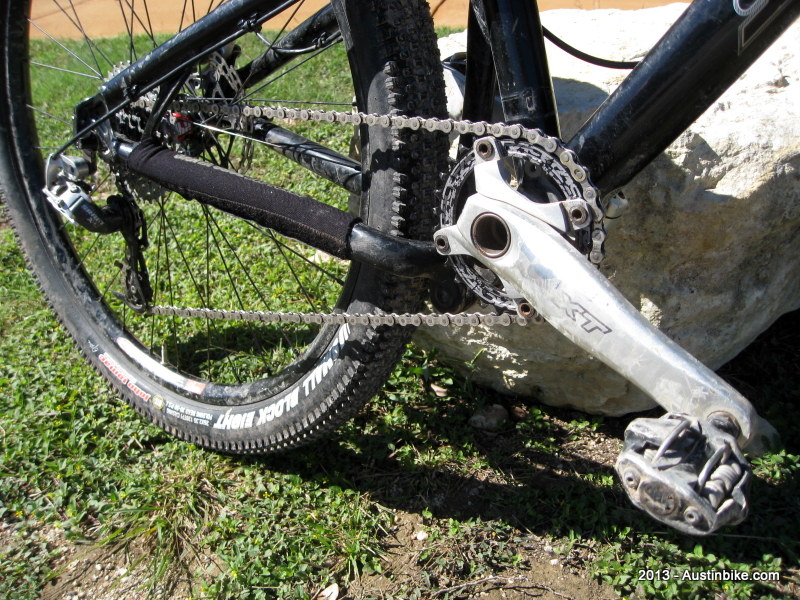
Here is a shot from the test ride at City Park (in the rain no less), you can see how the chain rides above the crank arms so that you can get to a lower ring size due to the fact that you don't have a granny anymore.
When I did the test ride I kept the front derailleur on the bike just in case. I figured if the chain was too long it would prevent it from falling off, and if I had to go back to a 1x9, that was one less thing to reinstall.
The lap at City Park convinced me that everything was a go, so the front came off and I now have a clean drive train. I did 2 laps at Lakeway in the Canyonlands trails, which are all switchback climbing, then fast bouncy downhills. After 2000 feet of climbing yesterday I was thoroughly convinced that this was the right setup.
Then, this morning, at Pace Bend, I noticed this:
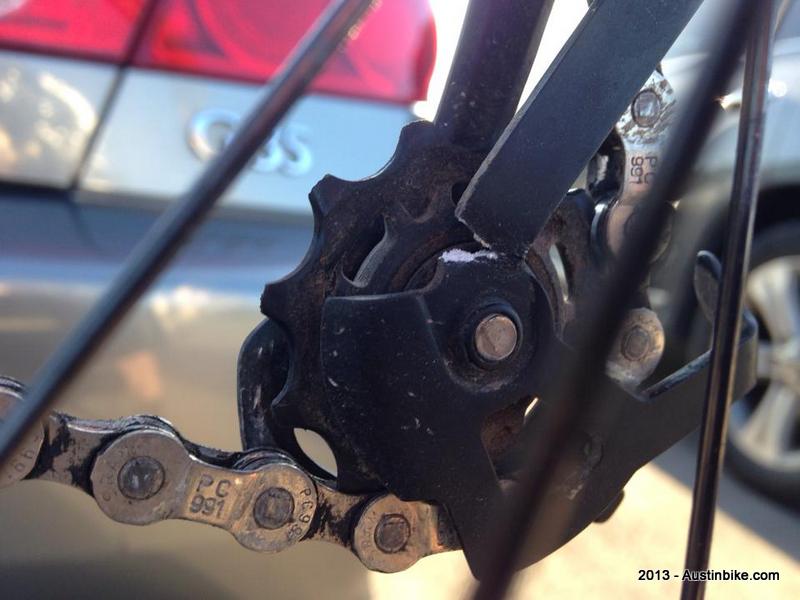
That derailleur was at least 2 years old and had plenty of abuse, it finally gave up. Now that I know a single ring is the right way to go, I am going to switch to a 1x10. It's more than a 1x9, but the clutch in the derailleur will help keep the chain in place. The guy I was riding with at City Park said my chain looked pretty flexy. I don't think this crack was part of the issue, but you never know.