Over time, hydraulic brakes will eventually start to give out on you. You'll probably notice that the first time that you grab them in the morning you can probably get the lever all the way back to the grip. You give it a couple of strong pulls and pretty much everything is back to normal. So you don't need to do anything, right? Wrong!
All hydraulic brakes will need to be bled over time. The good news is, for Shimano, the process is so simple that you can do it quickly. I was able to bleed two XT brakes this morning in about 5 minutes; here is a handy visual guide to walk you through the process.
To really do a bleed right you should do a full gravity bleed where you are pushing out fluid from a reservoir at the lever and out of the caliper. But that is a longer process, sometimes you just need a little tune up.
Before you get started you will need two things: A Shimano bleed kit and Shimano mineral oil.
The good news on the kit is that you can simply go over to Amazon and get a complete kit for less than the cost of having your brakes bled by a shop. The Amazon kit will include a small bottle of mineral oil that should last you through a few bleeds with no problem, even if you screw up or spill it. If you do need to buy more, you can buy it in a small bottle similar to the bleed kit or a stinking lifetime supply (1 liter). I went with the larger one, so if you are in Austin and run out, hit me up.
The only tool you will need is a 2.5mm Allen head (hex) wrench that you will use to loosen the cap. (FYI, the Allen head that comes with the Amazon kit is for the calipers, not the reservoirs.)
Now that you have the tools and the supplies, let's get started.
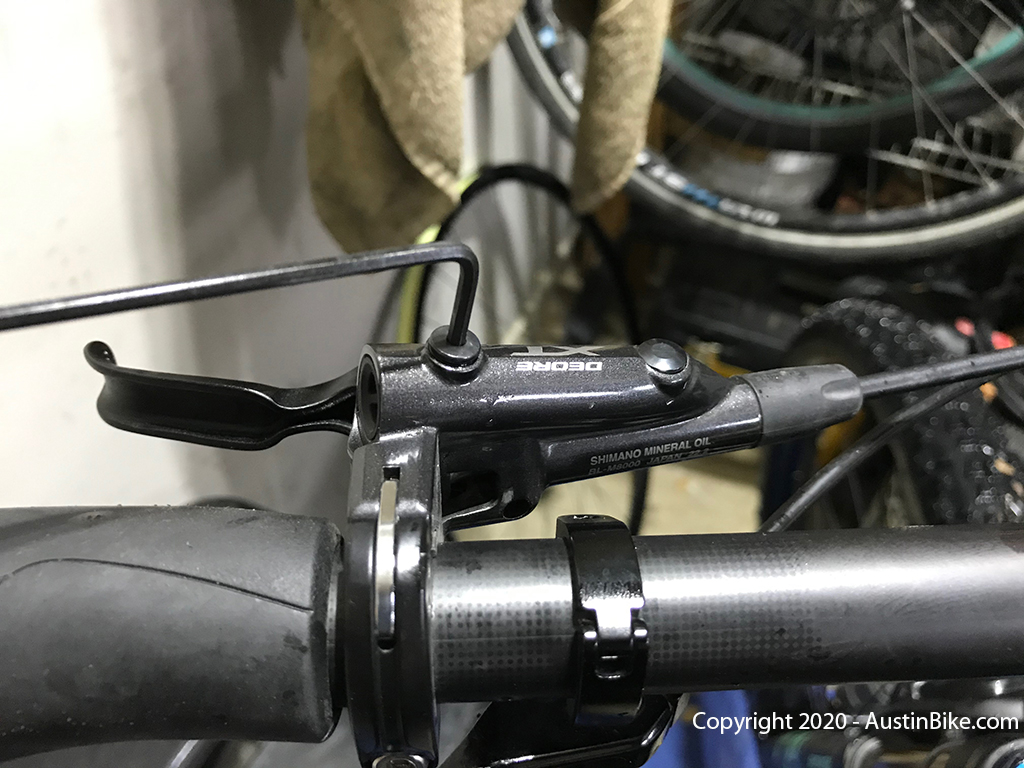
The first step is to turn your brake lever upward so that the reservoir is as parallel to the ground as you can get. Use the flat screw as an indicator of angle.
Next, insert the Allen head into the top screw and loosen it up, removing it from the level. CAUTION - there is a very small O-ring on the screw, do NOT drop this as you are removing the screw, it is very hard to find on the floor as you are putting things back together.
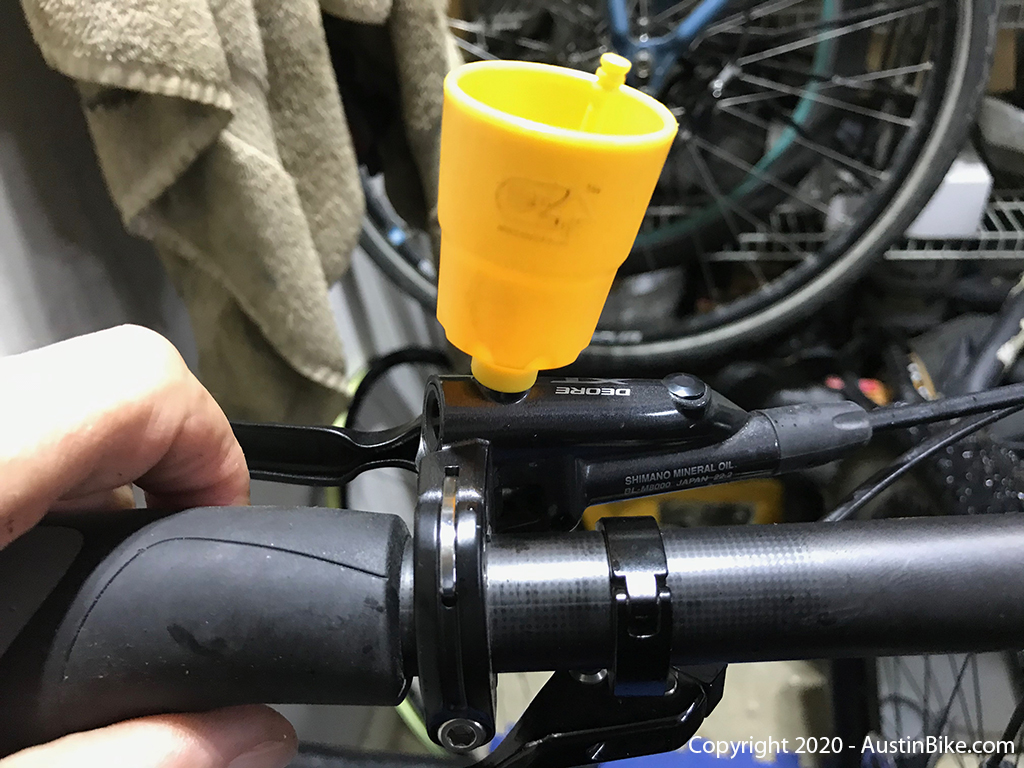
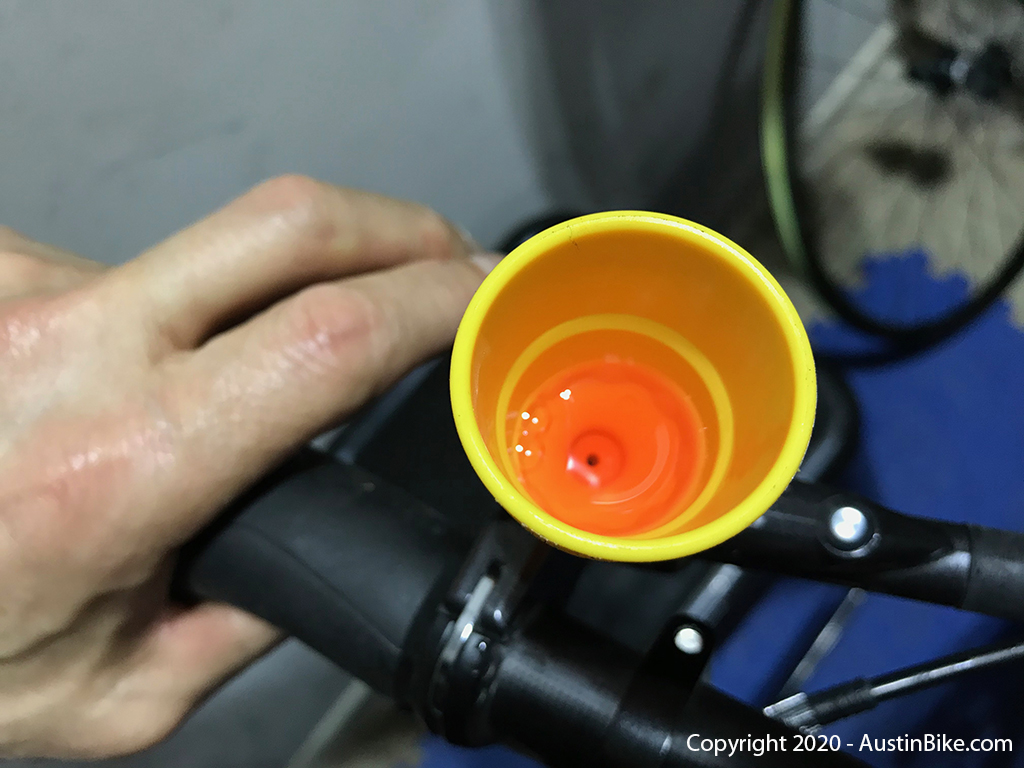
Now that you have the reservoir open, take the fluid cup, with the stopper inserted, and screw it into the reservoir.
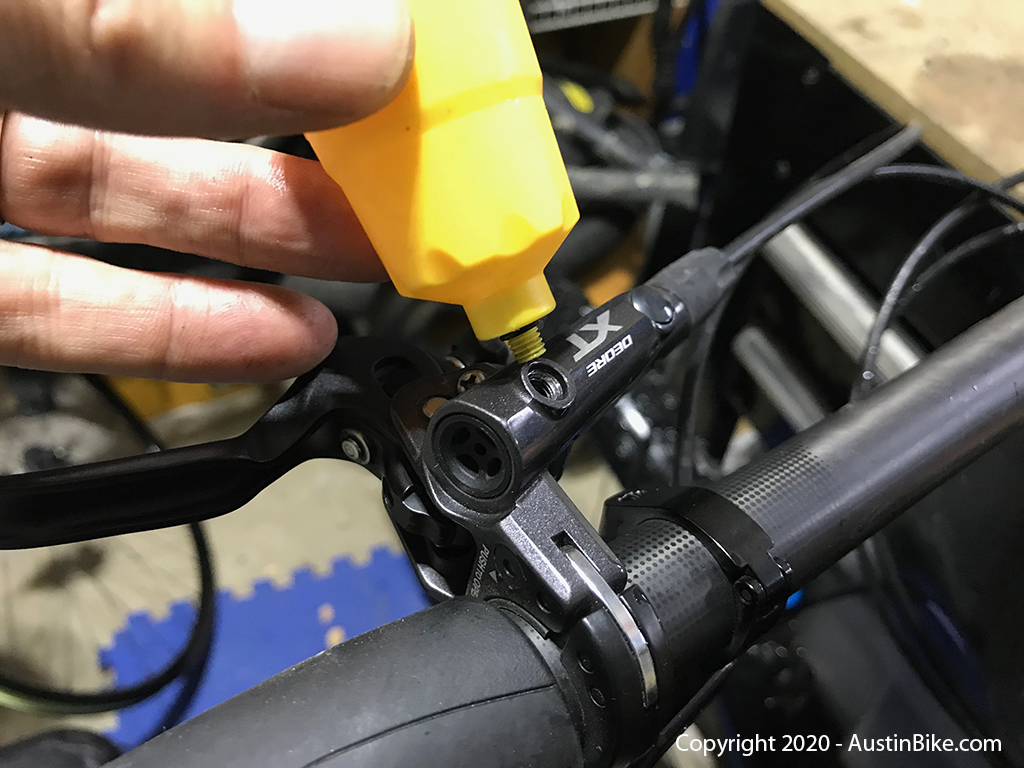
Once you have the fill cup installed, and the plunger is in place, put in some fluid.
You do not need a lot, just enough to fill the bottom of the cup.
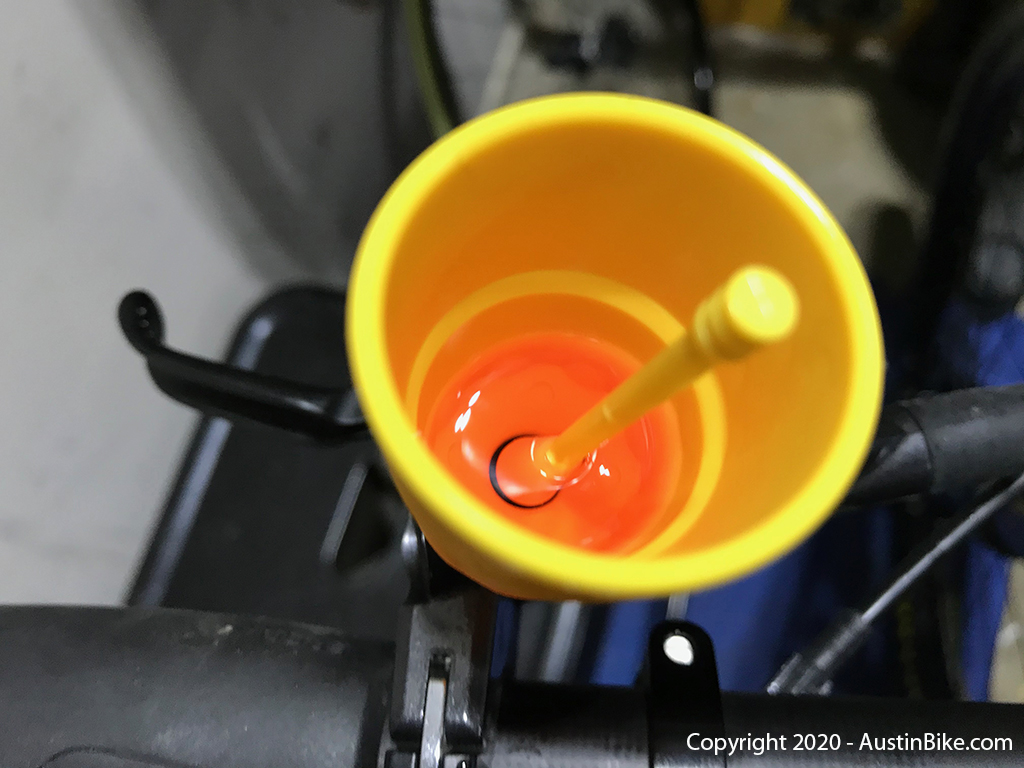
Now that you have the cup in place with the fluid in the bottom, you can remove the plunger and set it aside on a clean surface.
You can now begin the true bleeding process by pumping the brake lever 10-20 times. Initially you'll see some air bubbles coming up to the surface. These bubbles are what was causing the squishy feel in your levers.
Eventually you'll get to the point of having no more bubbles come out, now you are *almost* done. Sometimes the air can be trapped in the brake hose, so I like to take the handle of a screwdriver and gently tap the hose, starting at the caliper and move up to the brake lever. Now give that handle another 10-20 pulls and see if bubbles are still coming up. If so, then repeat the tapping/pumping process until you get to the point that no more bubbles come up. Then you are ready to finish up.
Put the plunger back into the bottom of the cup, then unscrew the cup from the lever and set it down on your workbench. I like to use a slightly opened pair of pliers to hold the cup upright while I am finishing off the job.
Screw the cap back into the brake lever, making sure that the O-ring is in place and the screw is tightly sealing up the reservoir. Wipe down the surfaces and turn your lever back down the the preferred position. You should be good to go now with more stopping power and new life in your Shimano brakes.