I generally have a fear of things like hydraulics because I worry about failures from my shoddy work. I had relied on shops to handle brake bleeds and installs in the past, but after successfully bleeding my Shimano XTR brakes, when it came to upgrading my old Hope brakes to new Shimano XT brakes, I figured it was worth learning. Spoiler alert: it's really easy and anyone can do it.
When you buy Shimano XT brakes, you'll find that you get the front as a self-contained system, all pre-cut and ready to go because the length of the front brake hose is 95% the same for just about every bike. The good news here is that you can take off your old brake lever and caliper, put the new one on and adjust. That process took less than 5 minutes. Simple. However, the rear brake is going to require some additional work.
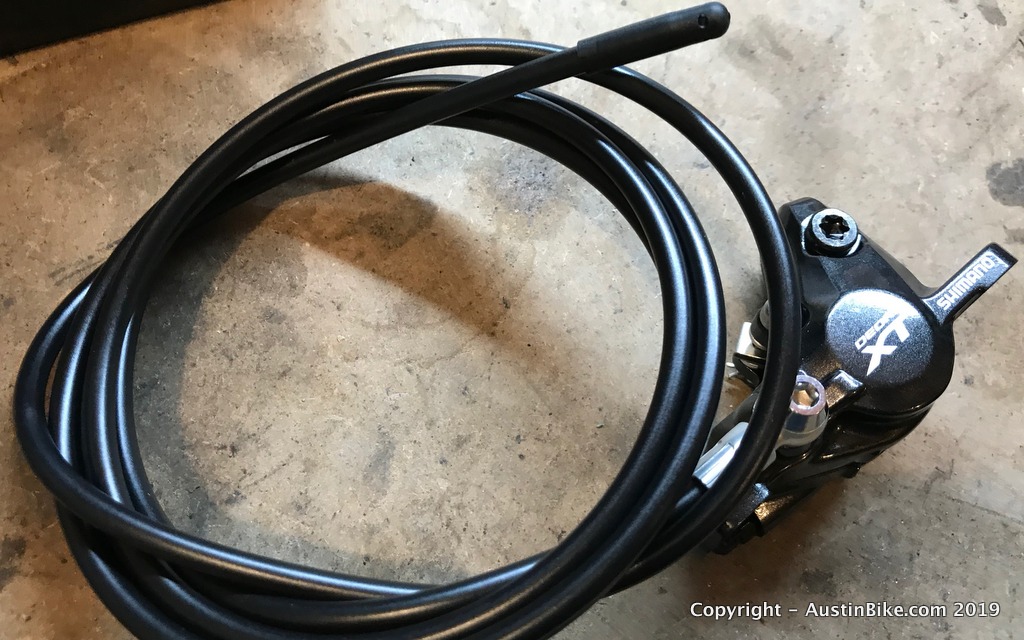
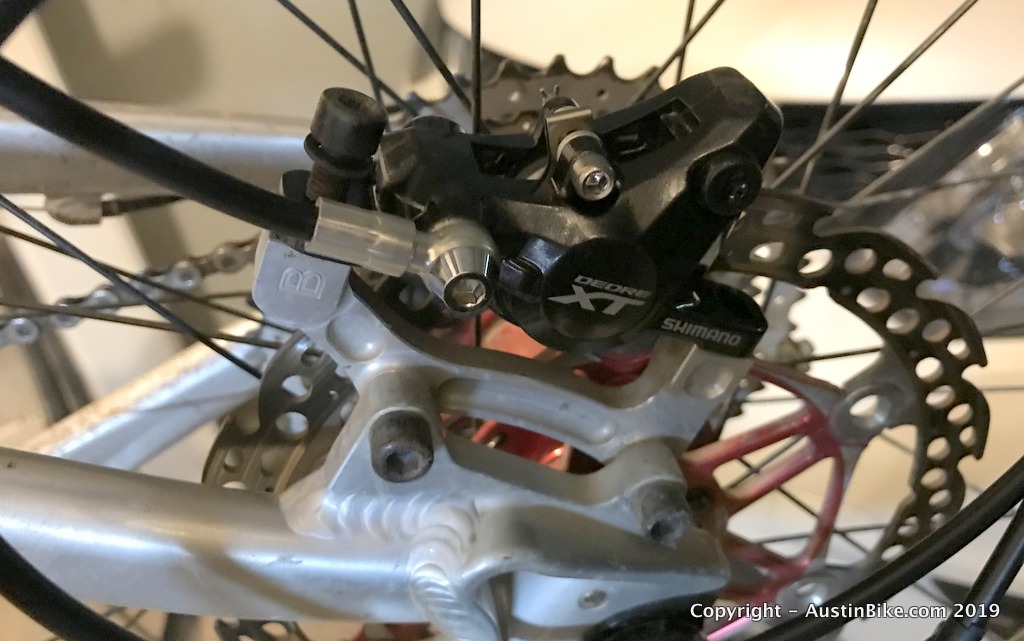
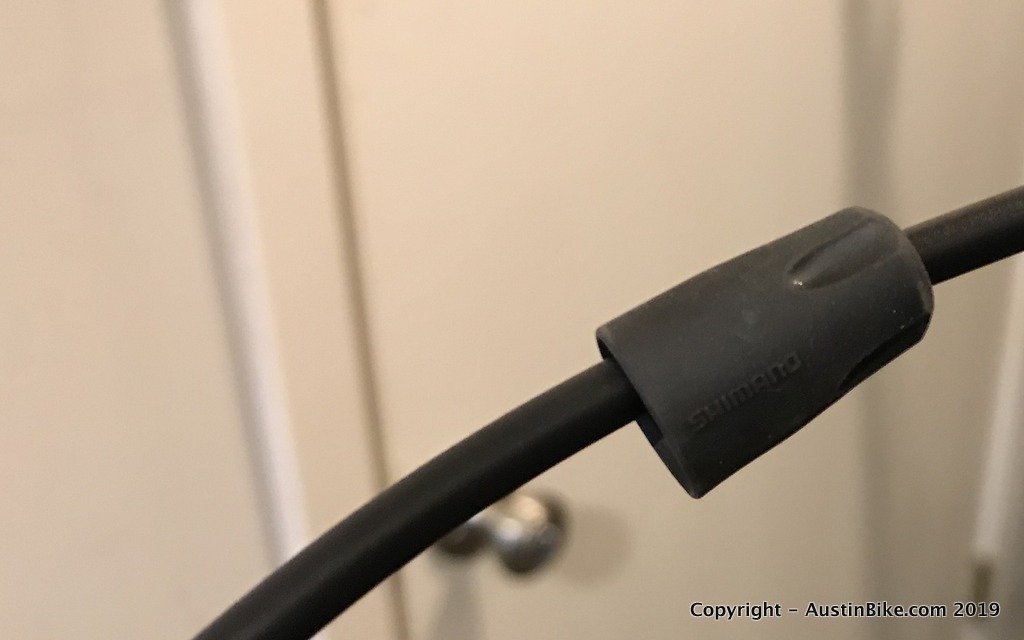
When it comes to the rear brake, the length can vary wildly. So, instead of having a self contained unit, you'll find the hose attached to the caliper, with a cap on the other end - it is capped because it ships with fluid already installed.
The first step is to install the rear caliper on the frame and then route the brake cable across the frame.
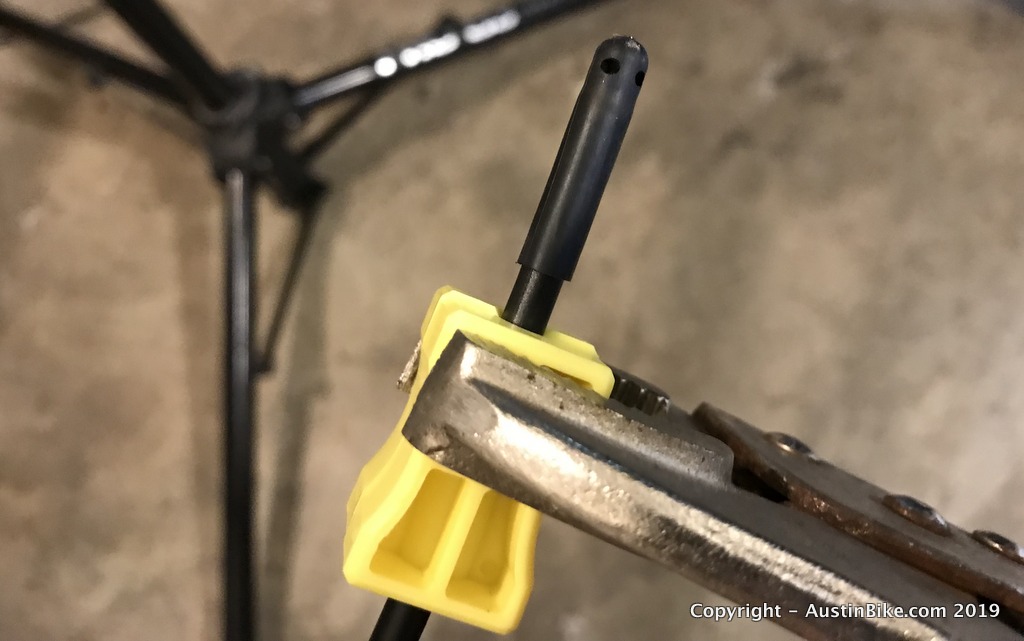
When you get it fully installed and secured to the frame with zip ties, measure out how much you need, then clamp the cable with the clamping blocks provided. I use a pair of vise grips to do that job:
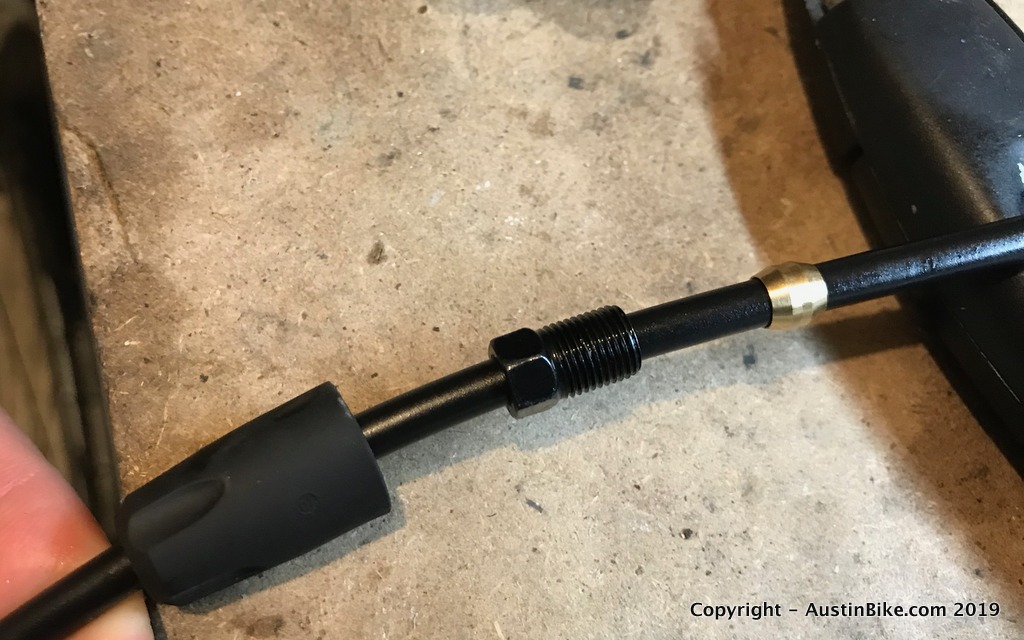
Along with the clamping blocks, you'll see two small brass parts, the olive and the insert:
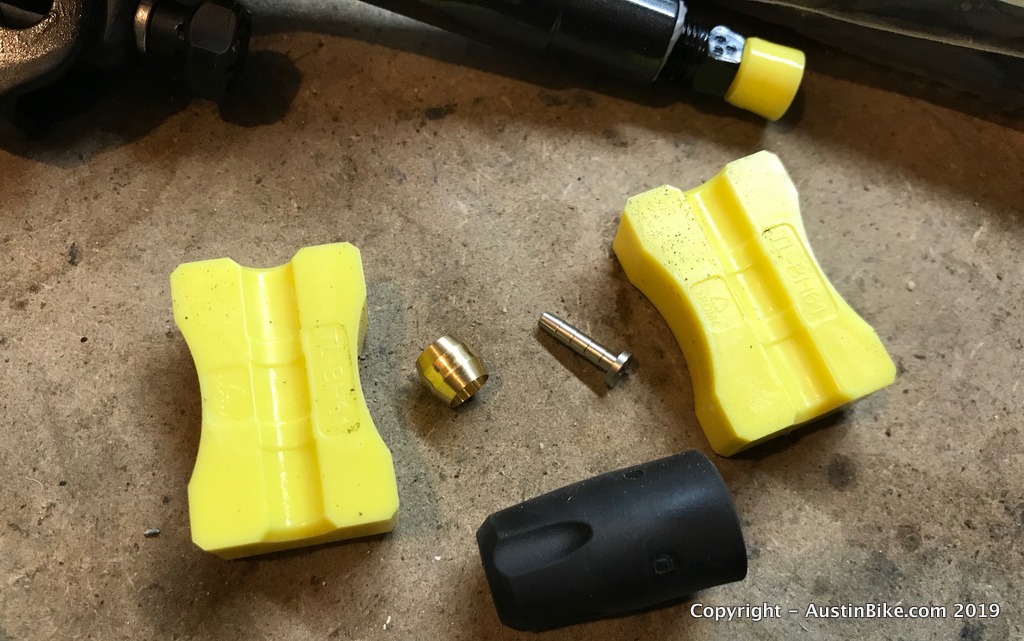
These two small pieces, along with the rubber cover you see at the bottom will all need to go onto the brake hose, in the right order.
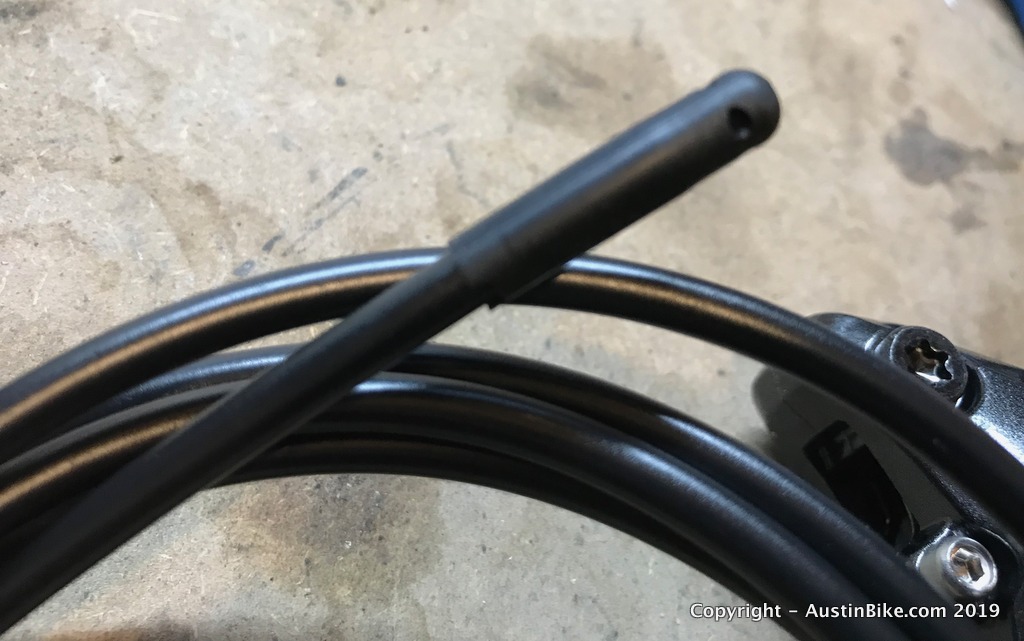
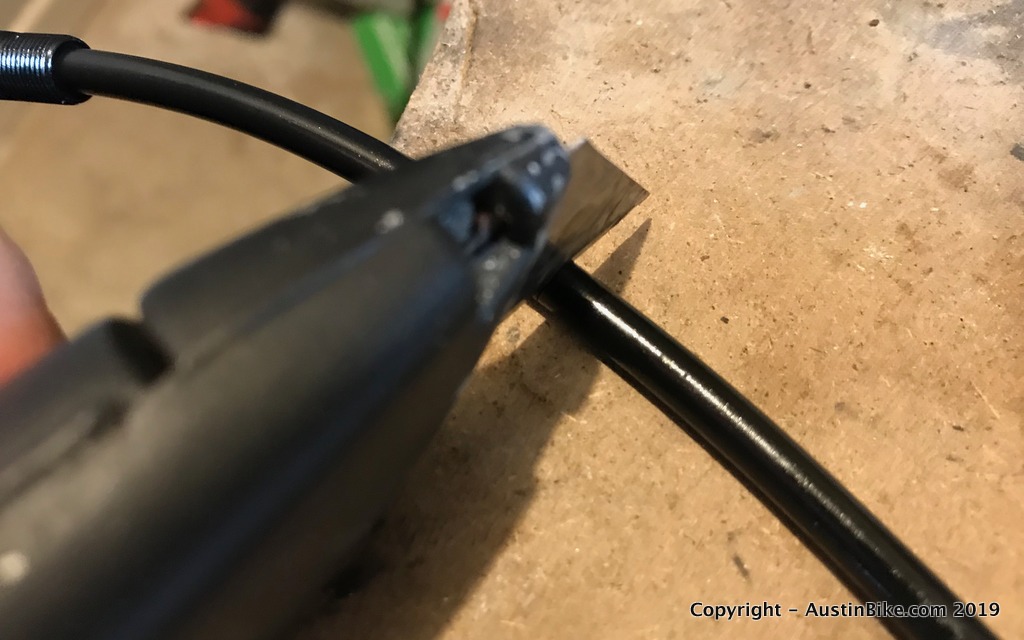
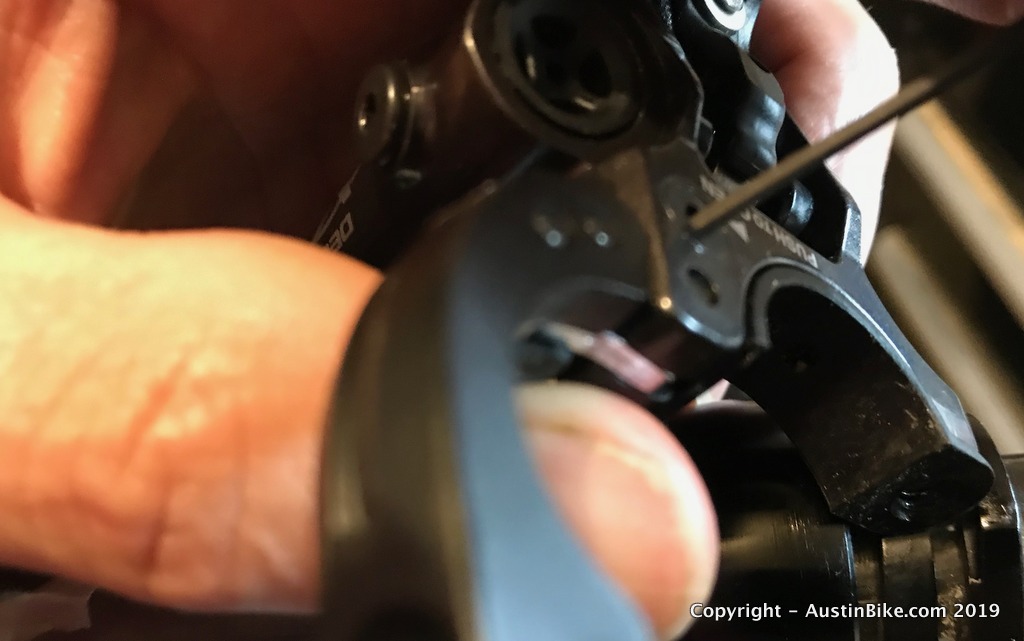
The first step is to cut the hose. I just used a utility knife to do the job, some people use an exacto knife. Try to get the end as flat as possible, but don't sweat it if it is not perfect, the insert will actually provide the contact point and that is flat.
Once you have cut the hose, slide the rubber cover on first. Make sure you have it aligned properly so that the open end is closest to the end of the hose:
Next you will install the screw, the olive and the insert. After the rubber cover is on the hose, insert the hose through the middle of the screw. You'll find the screw installed on the brake level. Take out the plug, unscrew the screw from the lever and stand the lever upright so that no oil drips out. Install the screw on the hose.
The olive is next, it should be inside the lever, you may need to fish it out with a small tool. Slide that onto the hose. Your series should now look like this:
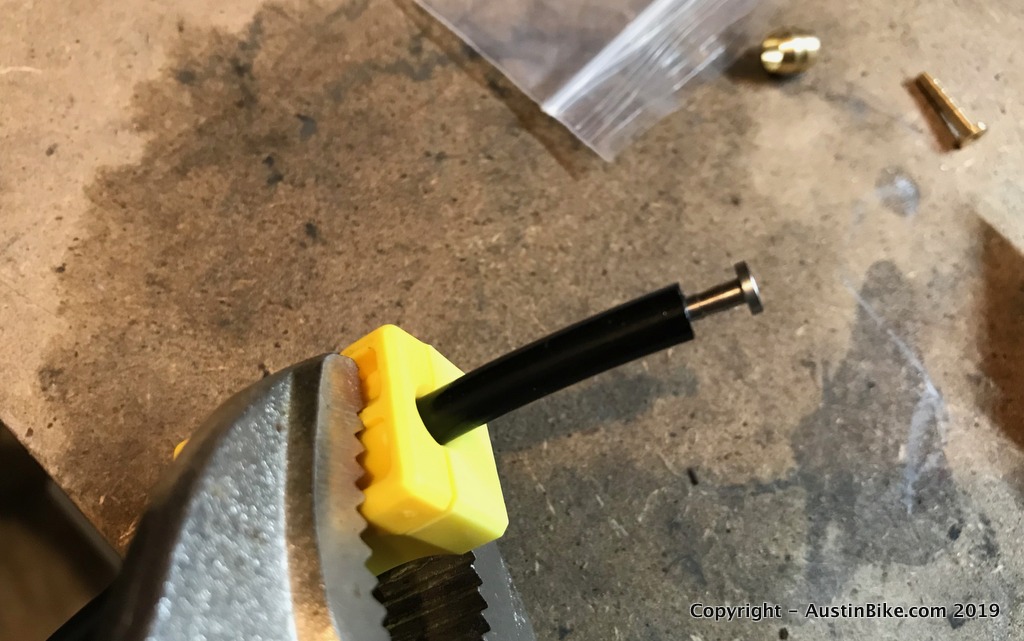
Now the final hose assembly is the insert. Simply stick this into the end of the hose. You can push it halfway in and then you'll need to get a tool to push it the rest of the way. It does not need such force, I used a pedal wrench to bang it in with a couple of firm hits.
Once you have the insert in the end of the cable you should be ready to insert it into the brake lever. I should look like the picture below at this point:
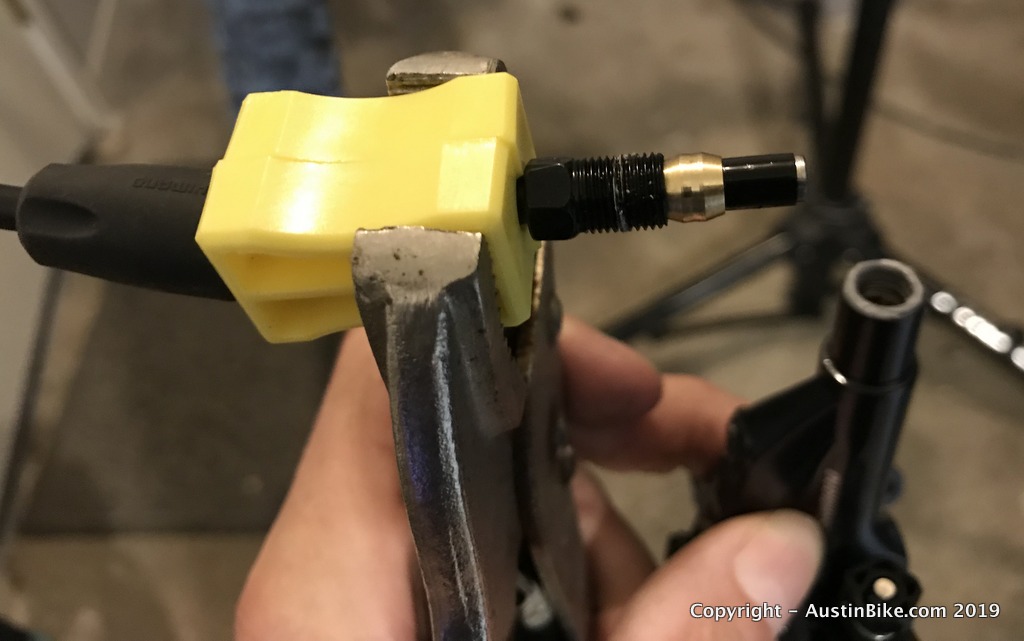
When you insert the cable into the brake lever, you'll want to make sure that the end of the cable (with the insert) is inserted all the way into the level as far as it will go. Then push down the olive as far as you can get it and use the screw to push the olive the rest of the way in. Then you can start tightening up the the screw. You'll get to the part where you start feeling a lot of resistance and you will think you are done, but keep going. I find that it is easier at that point to mount the lever and do the final set of turns with your 8mm wrench to get the system completely closed.
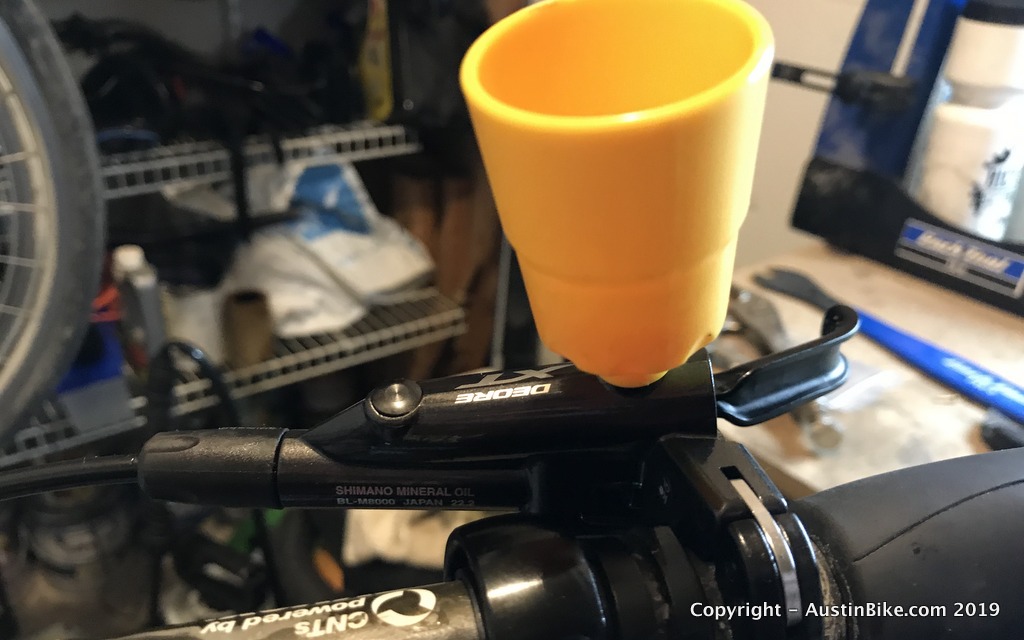
When it comes to actually mounting the lever, look for the "push to open" label with the arrow pointing to a hole. You will need to insert something into that hole and give it a little push to pop the lever mount open. I am guessing this is to keep it from falling off the handlebars and into your spokes if the mounting bolt ever backed all the way out.
The final step in the process *may* not be necessary. Bleed the brake. I did this and saw a good amount of air come out in the process, other people have said that they have never needed to do this. To me it is a good safety check just to make sure that there is no air in the system. I like to take a wrench and lightly tap the calipers, then work my way up the cable, tapping it which squeezing the brake. I usually see a handful of bubbles come out. Once they stop, you can just close up the lever reservoir and take it out for a ride.