While most mountain bikes have much larger bottom brackets with large bearings, let's face it, we all have a bar bike, a cruiser or some other knock around bike that we don't take on the trails, but eventually will need to have a bottom bracket serviced. I took out the old crusty bottom bracket out of my commuter, and here is how.
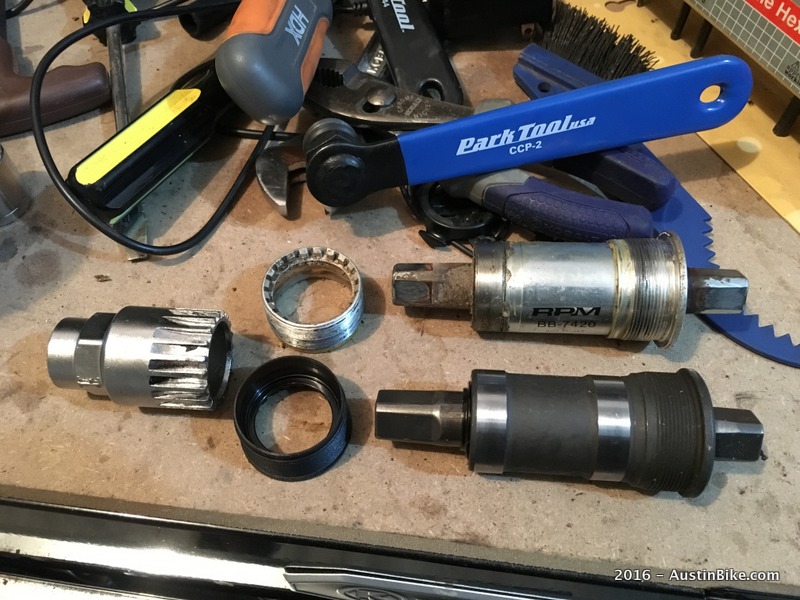
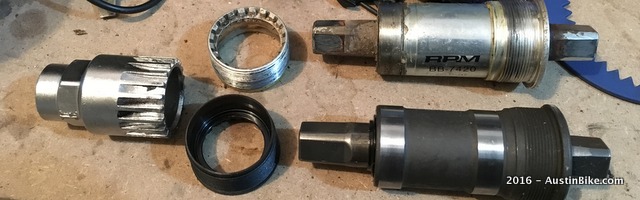
Square taper bottom brackets are pretty simple products to service or replace. In fact, the replacement bottom bracket was so cheap I wondered why I had gone so long without replacing it. These are sealed units that are not really serviceable, other than replacing the unit.
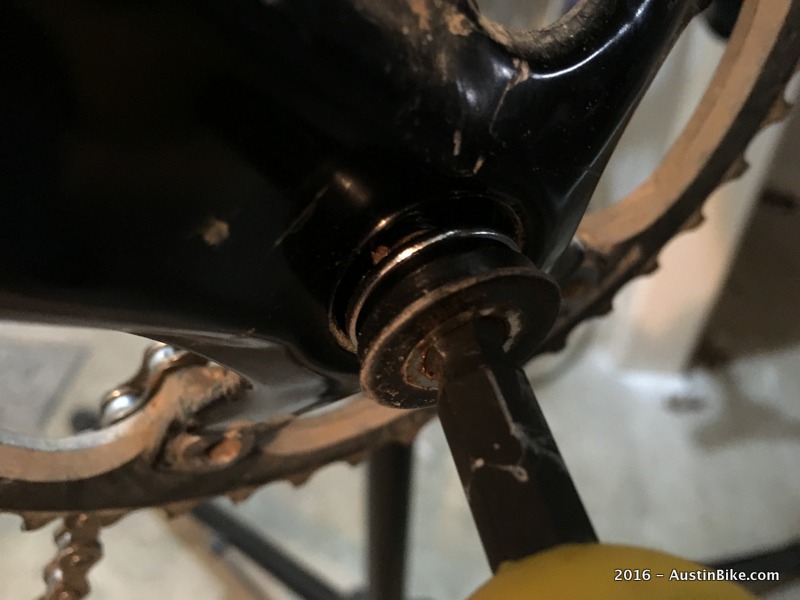
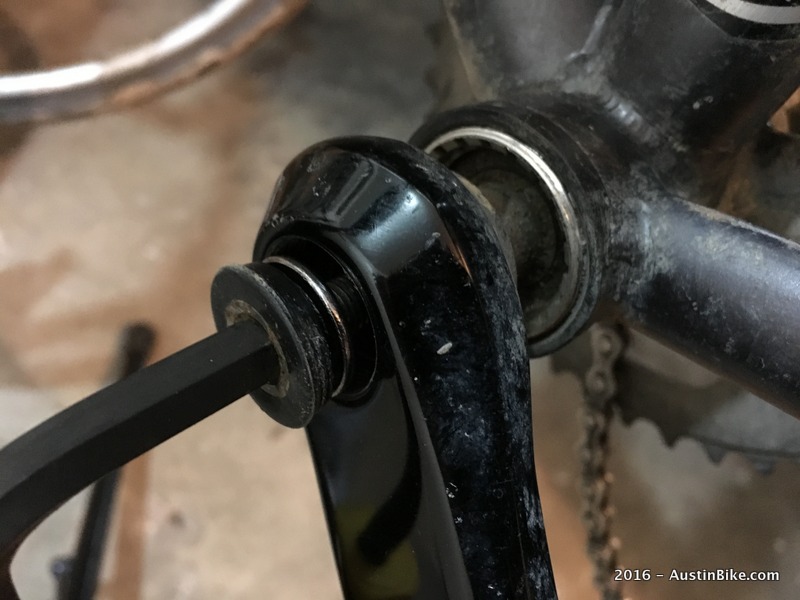
The square taper bottom bracket has two large bolts, one on each crank arm.
First remove the bolts, these are the same size as a pedal inner bolt, so if you have a pedal wrench with a hex key end, that will fit.
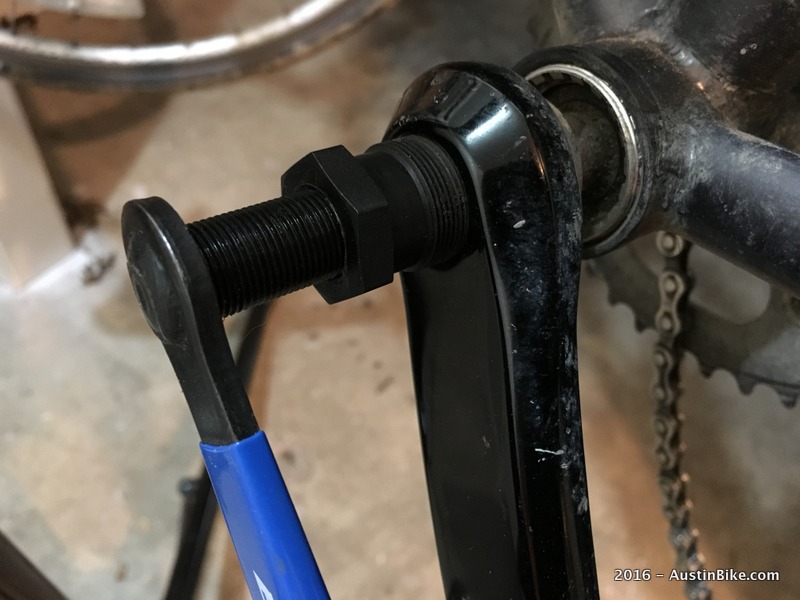
With the bolts out, you will need a crank puller to remove your cranks from the bike. There are different sizes of pullers, so make sure you have the right one. Park Tools makes a universal that will work with square taper or splined cranks.
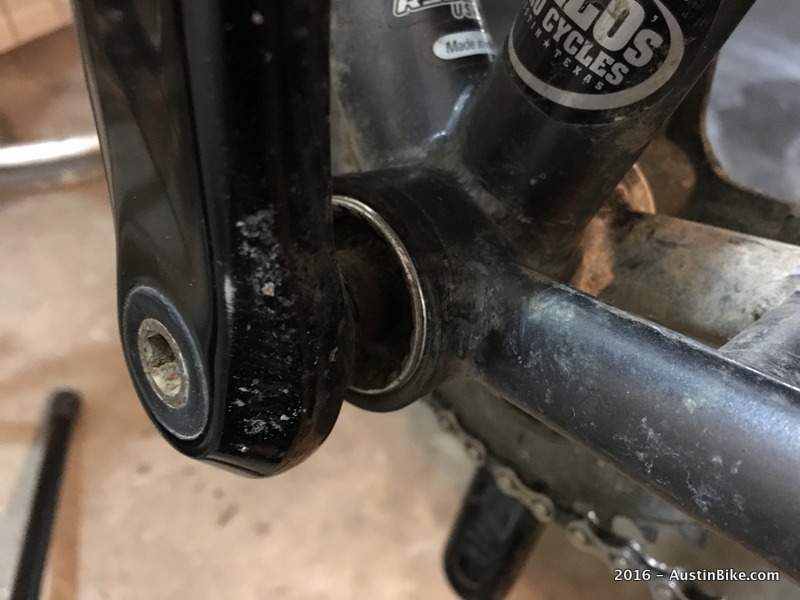
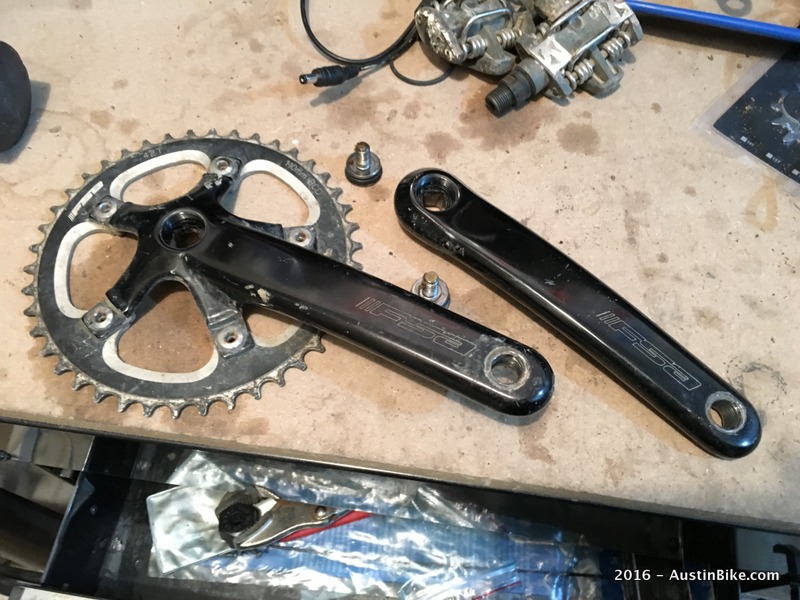
With the two bolts pulled and the arms removed, you are able to get to the bottom bracket.
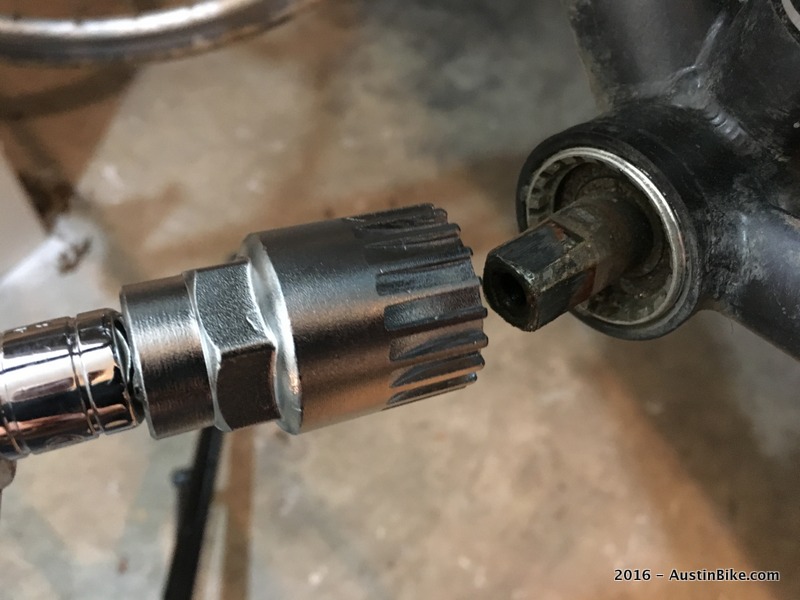
This leaves you with just the bottom bracket. You'll want to start with the non-drive side, where you remove the outer ring with a bottom bracket removal tool that fits in a socket wrench.
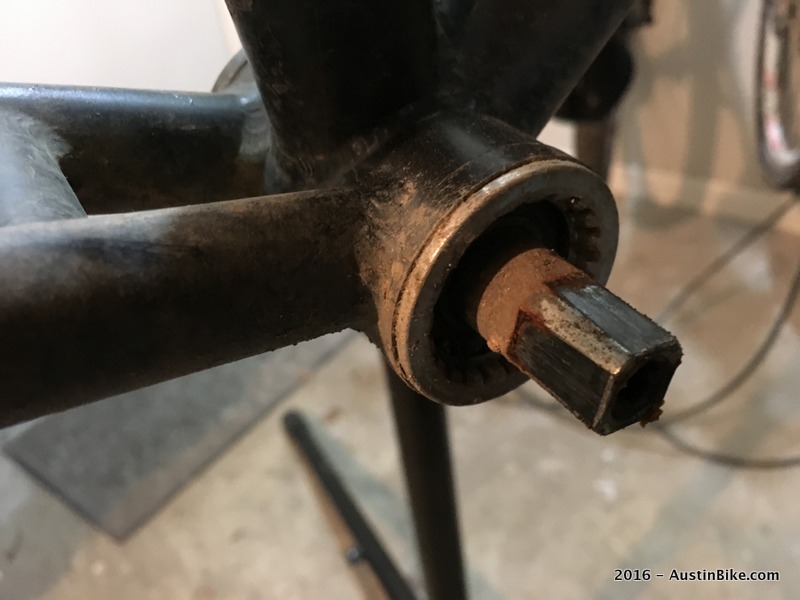
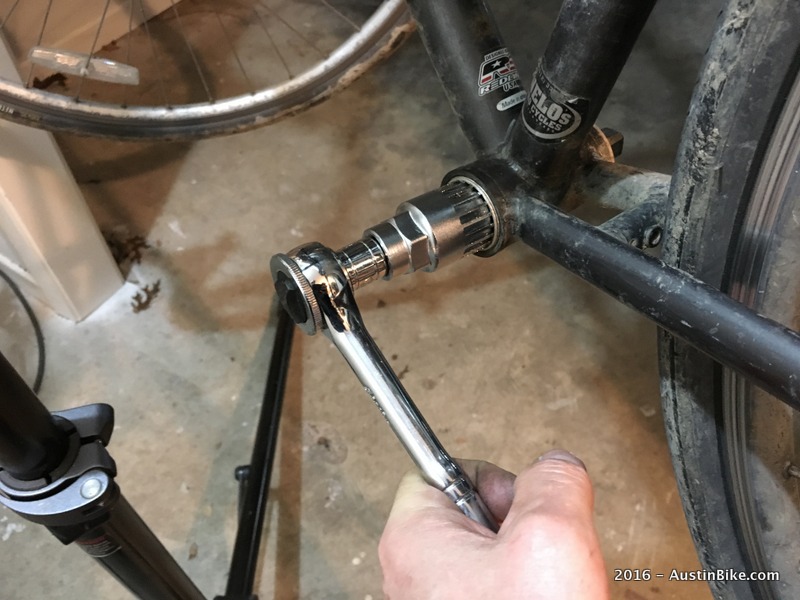
Once you have removed the non-drive side ring, simply do the same thing on the drive side, but this time it will remove the entire bottom bracket. Then just back yourself through the steps to put the new bottom bracket back in.